The moon is deceptively complex to render. From a distance, it's just a sphere with some texture. But zoom in, and you need crater depth, accurate shadows, and proper material properties to make it convincing.
For Skylit Studio's moon phase products, I needed renders that would look good at print resolution. Here's how I approached it.
The Foundation: Scene Setup
Start with the Three.js basics—scene, camera, and renderer:
\\\`javascript
class MoonRenderer {
constructor(containerId, options = {}) {
this.container = document.getElementById(containerId);
this.width = options.width || this.container.clientWidth;
this.height = options.height || this.container.clientHeight;
// Scene setup
this.scene = new THREE.Scene();
this.scene.background = new THREE.Color(0x000000);
// Camera with proper perspective
this.camera = new THREE.PerspectiveCamera(
45, // FOV
this.width / this.height, // Aspect ratio
0.1, // Near clipping plane
1000 // Far clipping plane
);
this.camera.position.z = 12;
// WebGL renderer with antialiasing
this.renderer = new THREE.WebGLRenderer({
antialias: true,
alpha: true,
powerPreference: 'high-performance'
});
this.renderer.setSize(this.width, this.height);
this.renderer.setPixelRatio(Math.min(window.devicePixelRatio, 2));
this.container.appendChild(this.renderer.domElement);
// Orbital controls for user interaction
this.controls = new THREE.OrbitControls(
this.camera,
this.renderer.domElement
);
this.controls.enableDamping = true;
this.controls.dampingFactor = 0.05;
}
}
\\\`
High-Resolution Textures
The key to realism is using actual NASA data. The USGS provides high-resolution lunar texture maps up to 8K resolution:
- Albedo map - Surface color and reflectivity
- Displacement map - Crater depth and terrain height
- Normal map - Surface detail for lighting calculations
\\\`javascript
async loadTextures() {
const textureLoader = new THREE.TextureLoader();
// Load textures in parallel
const [albedoMap, displacementMap, normalMap] = await Promise.all([
textureLoader.loadAsync('/textures/moon-albedo-8k.jpg'),
textureLoader.loadAsync('/textures/moon-displacement-8k.jpg'),
textureLoader.loadAsync('/textures/moon-normal-4k.jpg')
]);
// Configure texture settings for quality
[albedoMap, displacementMap, normalMap].forEach(texture => {
texture.anisotropy = this.renderer.capabilities.getMaxAnisotropy();
texture.minFilter = THREE.LinearMipmapLinearFilter;
texture.magFilter = THREE.LinearFilter;
});
return { albedoMap, displacementMap, normalMap };
}
\\\`
Performance Tip: 8K textures are ~25MB each. For production, serve multiple resolutions and load based on device capabilities. Mobile devices should use 2K textures maximum.
Displacement Mapping for Depth
This is where the magic happens. Displacement maps actually modify the geometry to create real depth—not just the illusion of it:
\\\`javascript
createMoonMesh(textures) {
// High-poly sphere for displacement to work
const geometry = new THREE.SphereGeometry(
5, // Radius
512, // Width segments (higher = more detail)
512 // Height segments
);
const material = new THREE.MeshStandardMaterial({
map: textures.albedoMap,
displacementMap: textures.displacementMap,
displacementScale: 0.15, // Controls crater depth
normalMap: textures.normalMap,
normalScale: new THREE.Vector2(1, 1),
metalness: 0.1, // Moon isn't very reflective
roughness: 0.95, // Very rough surface
});
this.moon = new THREE.Mesh(geometry, material);
this.scene.add(this.moon);
return this.moon;
}
\\\`
Why High Segment Count Matters
Displacement mapping works by moving vertices. With only 32 segments (the Three.js default), you'll get blocky craters. 512 segments gives you 262,144 vertices to work with—enough for smooth, realistic terrain.
The tradeoff? Each frame, the GPU transforms all those vertices. On mobile, you might drop to 256 segments. The key is finding the balance between visual fidelity and frame rate.
Lighting: Getting the Phase Right
The moon's appearance changes dramatically based on sun angle. Here's how to create accurate lighting for any lunar phase:
\\\`javascript
setupLighting(phase = 0.5) {
// Remove existing lights
this.scene.children
.filter(child => child.isLight)
.forEach(light => this.scene.remove(light));
// Ambient light for slight visibility on dark side
const ambient = new THREE.AmbientLight(0x404040, 0.1);
this.scene.add(ambient);
// Directional light simulating sunlight
const sunlight = new THREE.DirectionalLight(0xffffff, 1.2);
// Position based on lunar phase (0 = new, 0.5 = full, 1 = new)
const angle = (phase Math.PI 2) - Math.PI / 2;
sunlight.position.set(
Math.cos(angle) * 100,
0,
Math.sin(angle) * 100
);
// Target the moon
sunlight.target = this.moon;
this.scene.add(sunlight);
this.scene.add(sunlight.target);
this.sunlight = sunlight;
}
\\\`
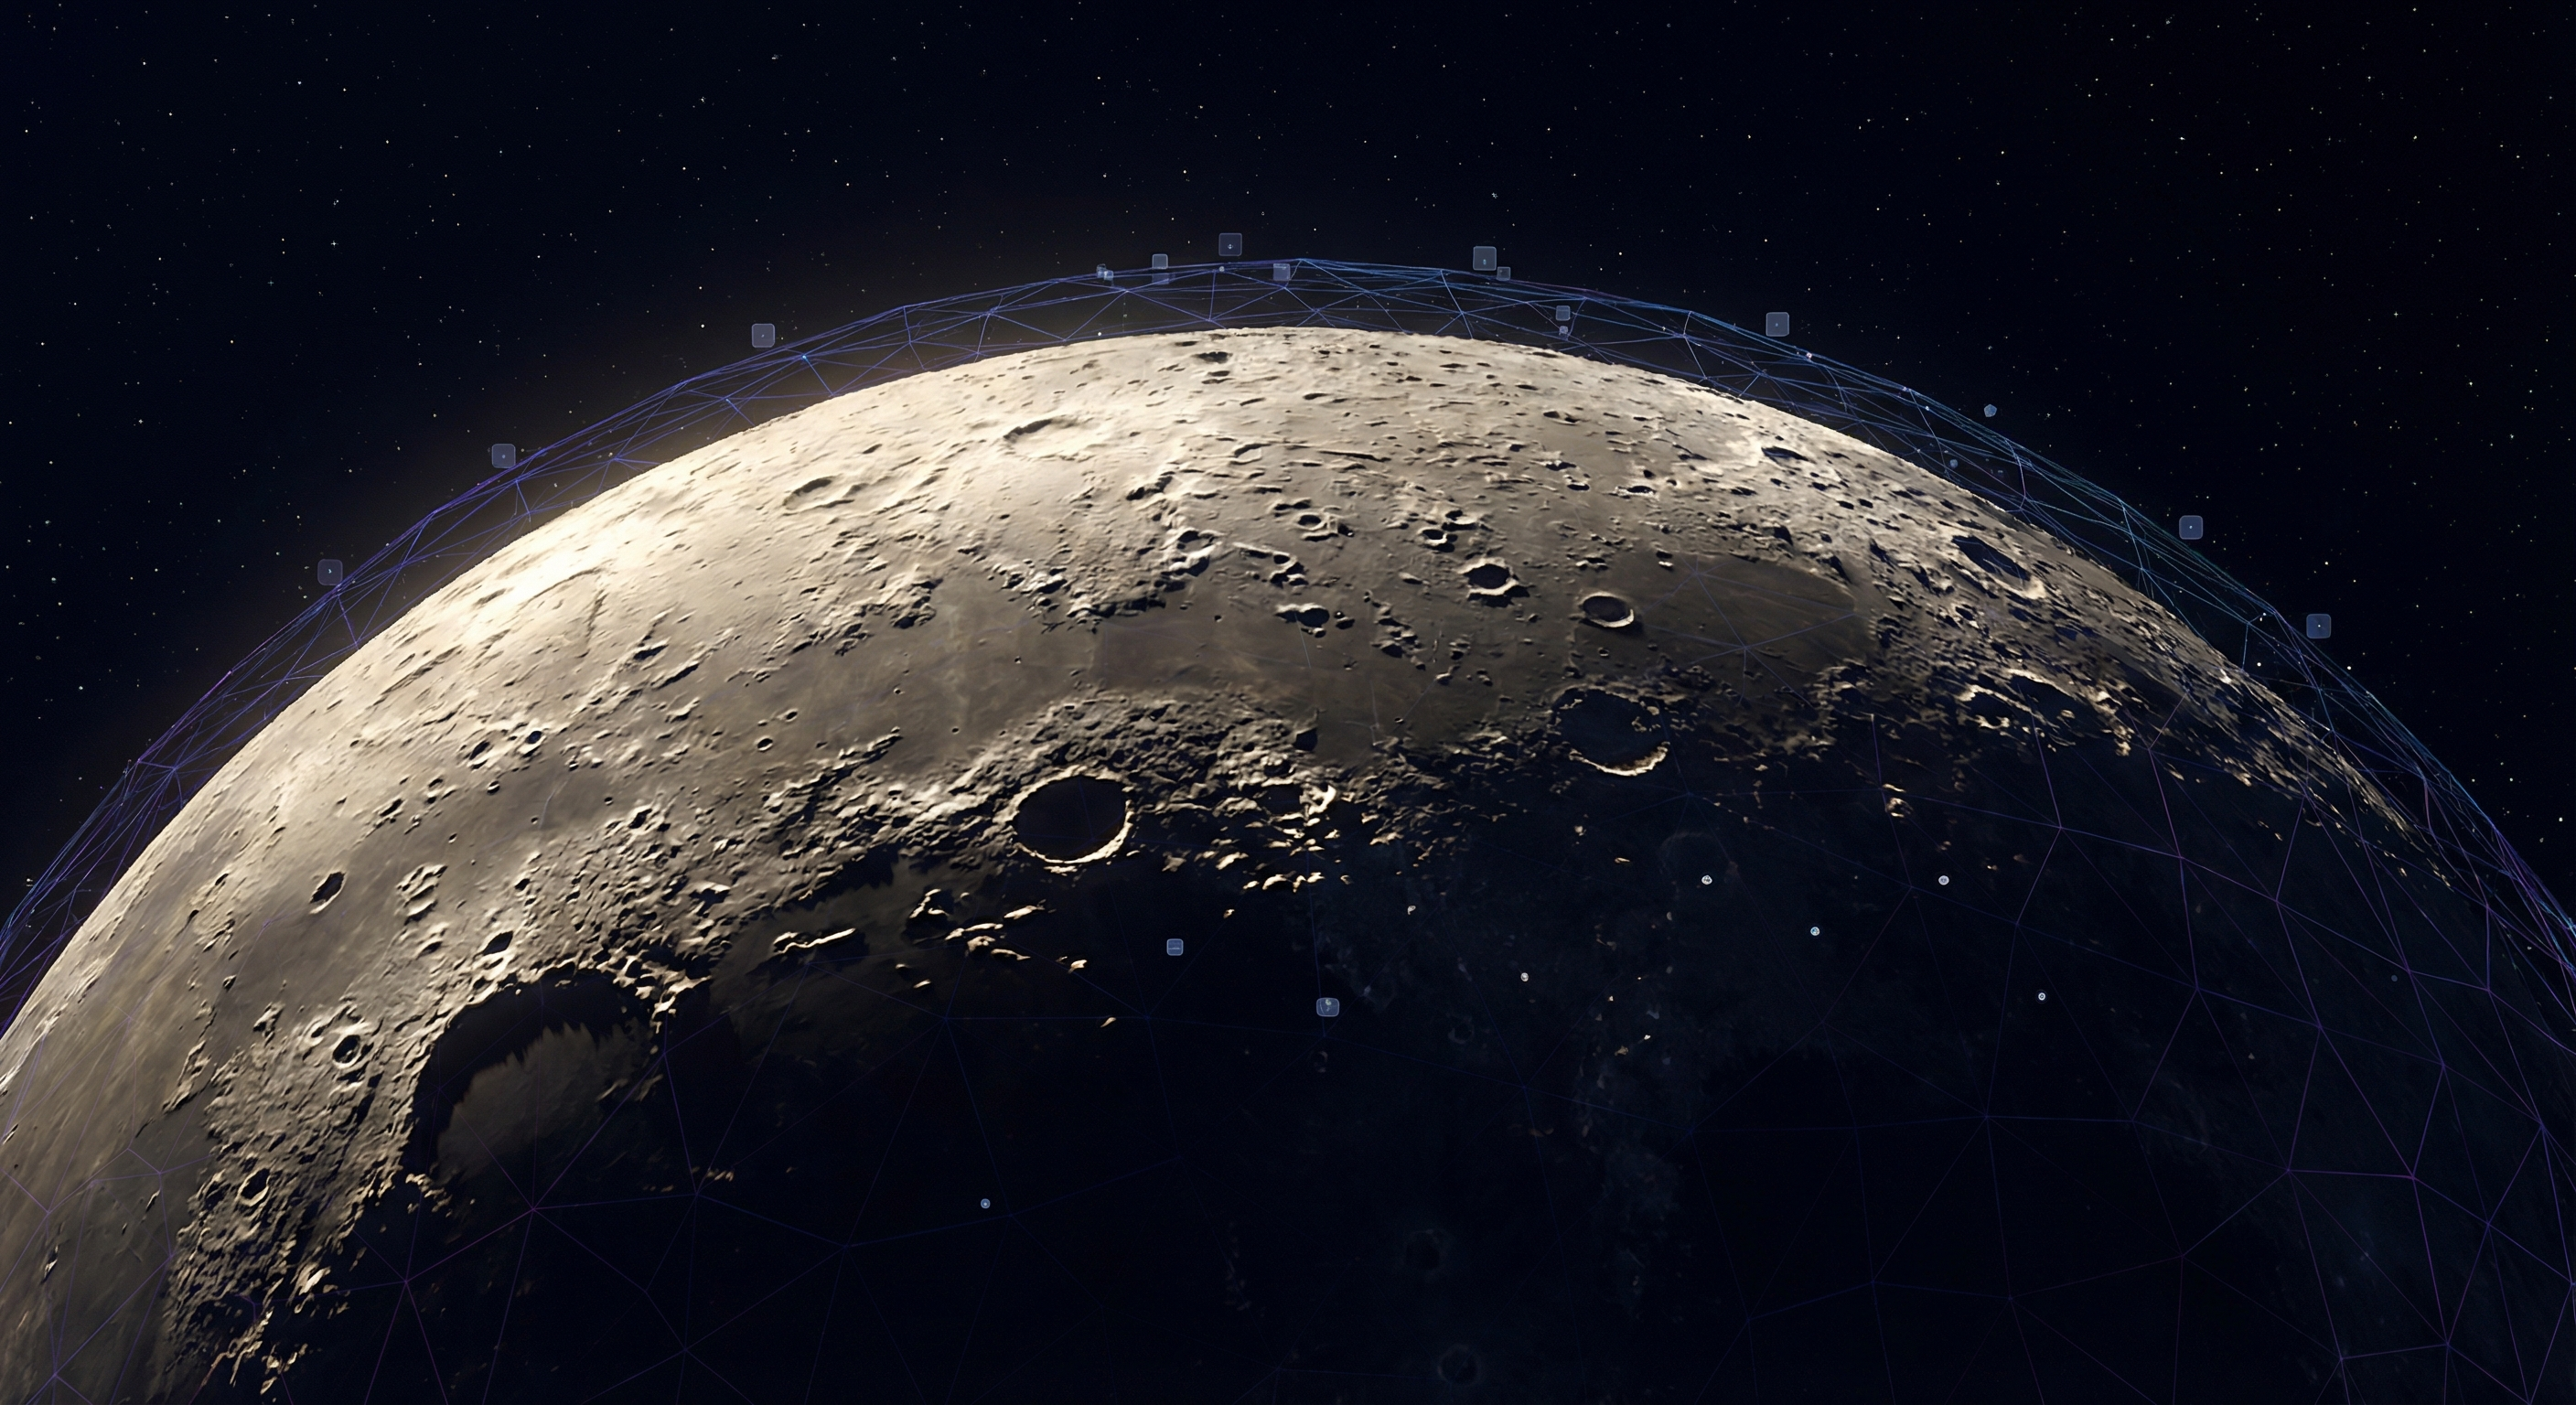
Final Result
With proper textures, displacement mapping, and accurate lighting, you get a moon that looks convincing at any zoom level. The craters have depth. The shadows are accurate. And it renders smoothly even on mid-range hardware.
The key takeaways:
- Use real NASA data for textures
- Displacement maps create actual geometry depth
- High segment counts are worth the performance cost
- Lighting angle is everything for phase accuracy
Is Your Website Winning You Work?
21 practical checks across 5 categories. Score yourself and see where you stand — takes 5 minutes.
Get the Free Checklist →